05 Apr, 2026
3183Views
05 Apr, 2026
3183Views Whether you are remodelling your house, establishing a new office, or refurbishing a business area, the type of flooring you use will determine the appearance and functionality of the area in the coming years. In the recent past, SPC flooring installation was one of the most searched terms among the homeowners and interior professionals in India, and with good reason. Few other types of flooring can provide a unique blend of durability, waterproofing, and modernism as Stone Plastic Composite (SPC) flooring does.
Selecting the appropriate flooring material is not the end. The difference is in the way you install it. Even the best product may result in raised edges, squeaky planks, and early wear due to poor installation. That is why this guide includes all you need: actual cost figures, step-by-step procedures, tools that you will use, and the most frequent errors that people commit when installing SPC flooring.
At Antovia Surfaces, we work closely with architects, interior designers, and homeowners to deliver reliable surface solutions. This guide reflects real-world experience with SPC products for residential, commercial, and hospitality environments.
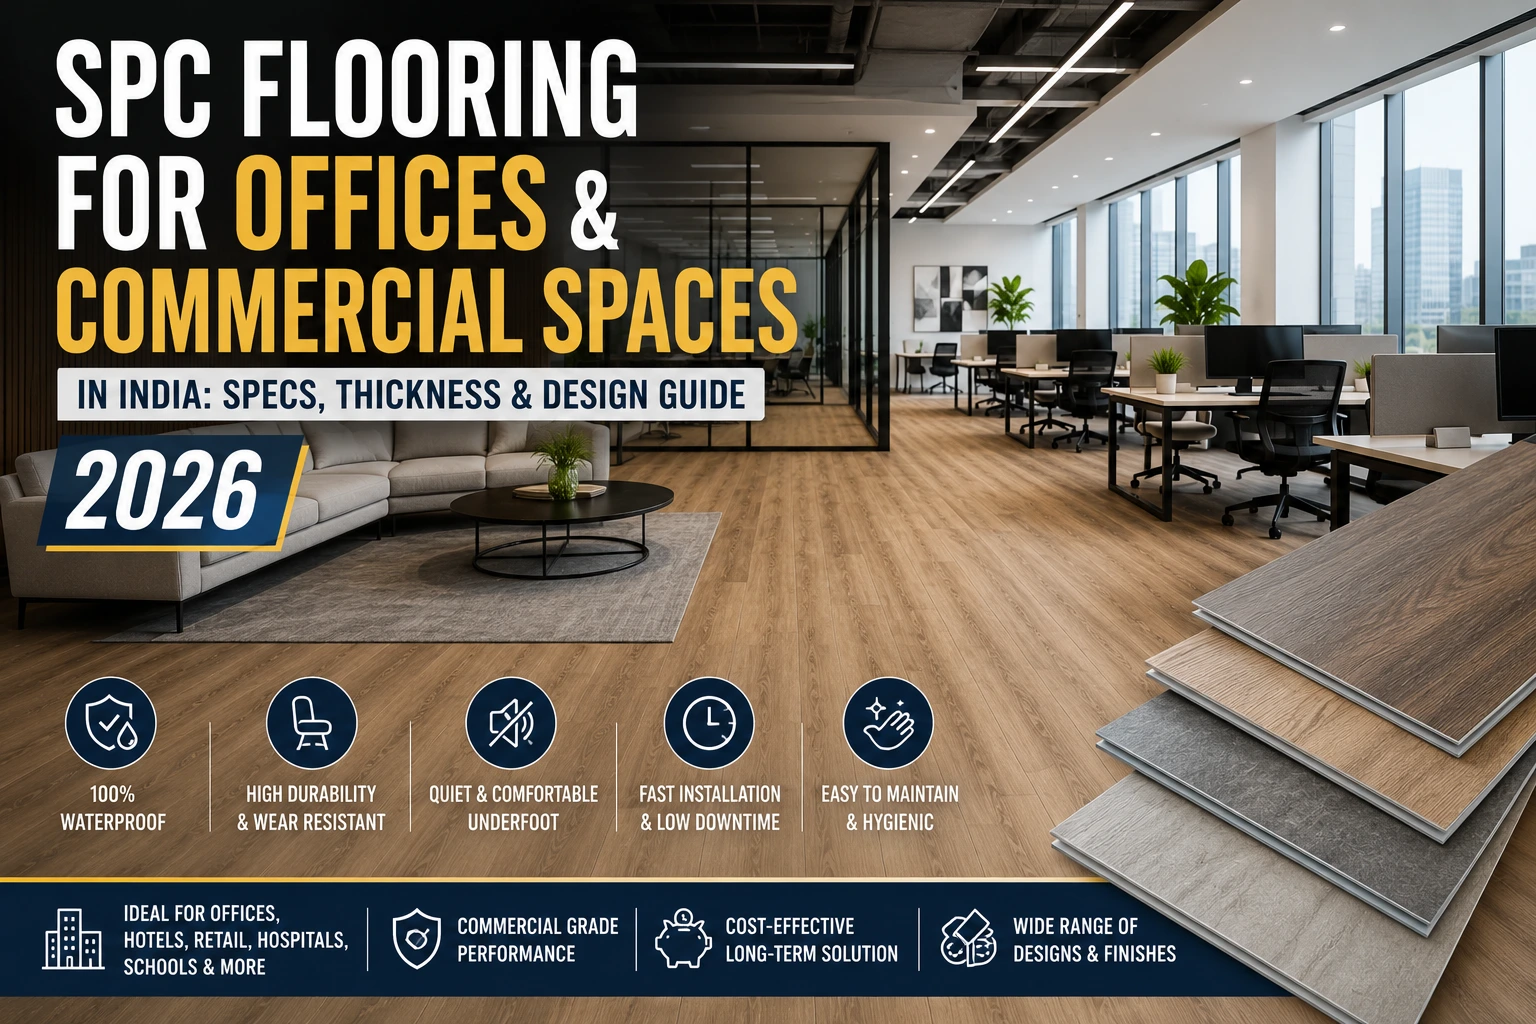
What Makes SPC Flooring the Right Choice for Indian Spaces?

SPC is an acronym that represents Stone Plastic Composite. This flooring is composed of a mixture of limestone powder, polyvinyl chloride (PVC), and stabilisers, a mixture that provides it with superior rigidity and density. Rigid core SPC flooring is not flexible or bendable under pressure like laminate or traditional vinyl. It is its structural strength that makes it different.
The climate of India is well known to be hostile to flooring. The monsoon humidity, the large seasonal temperature variations, and the dense population of large families make waterproof SPC flooring especially Indian-friendly. When it is exposed to moisture, it does not swell, warp, or even buckle, making it the best choice in the kitchen, bathroom, balconies, and basement areas where laminate just cannot withstand it.
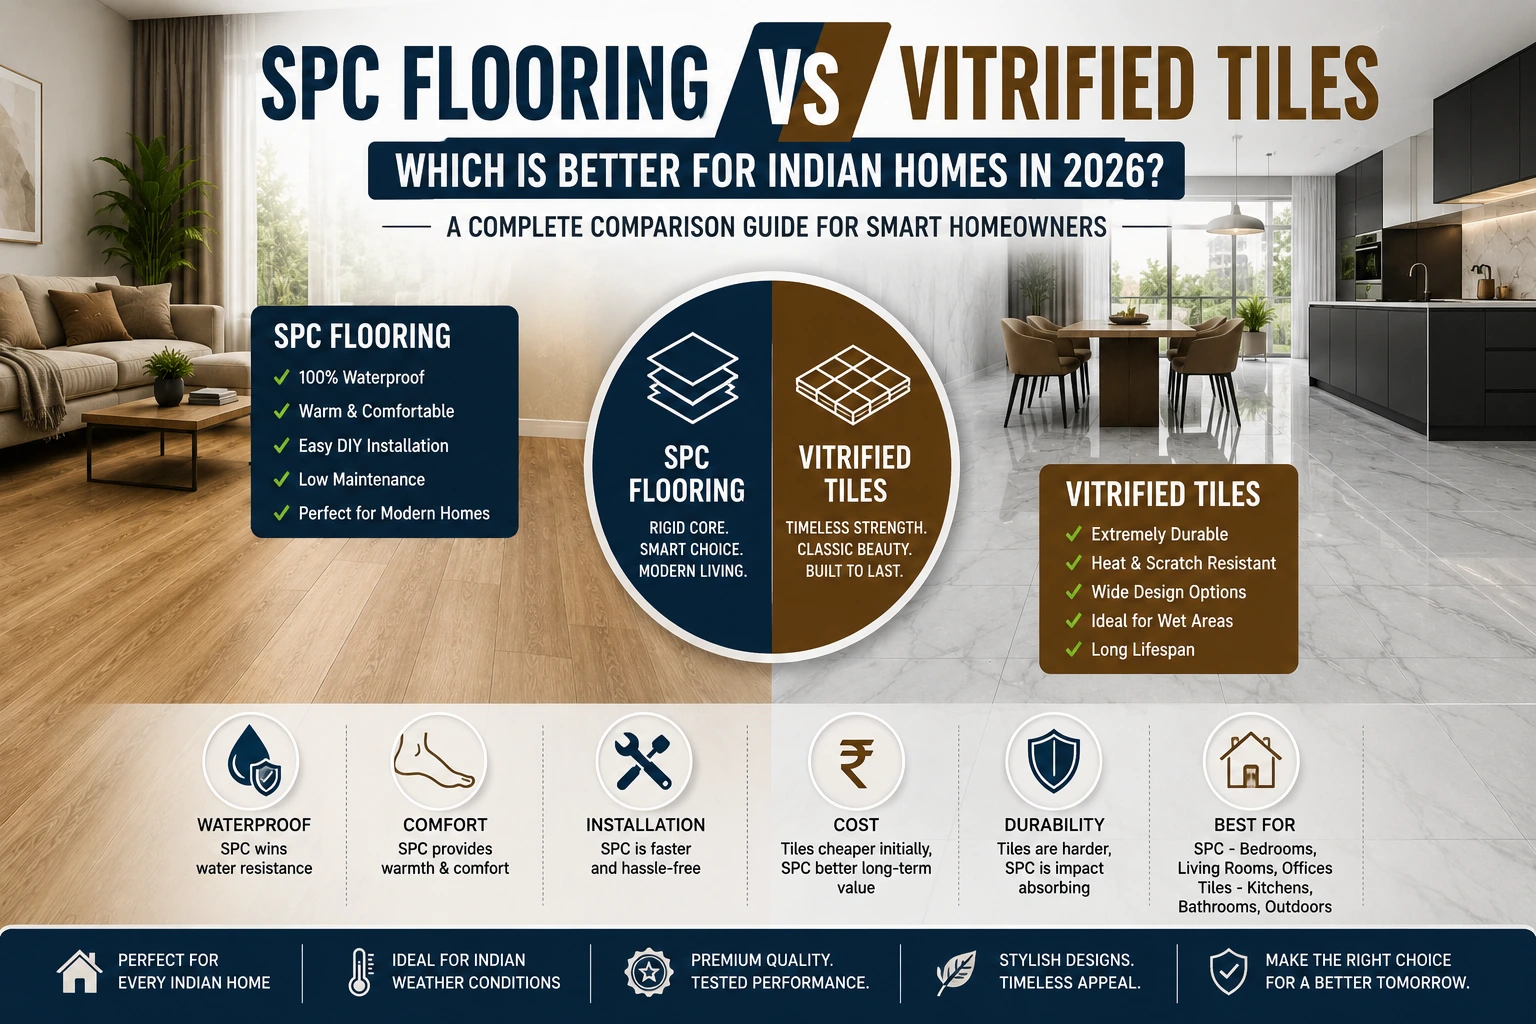
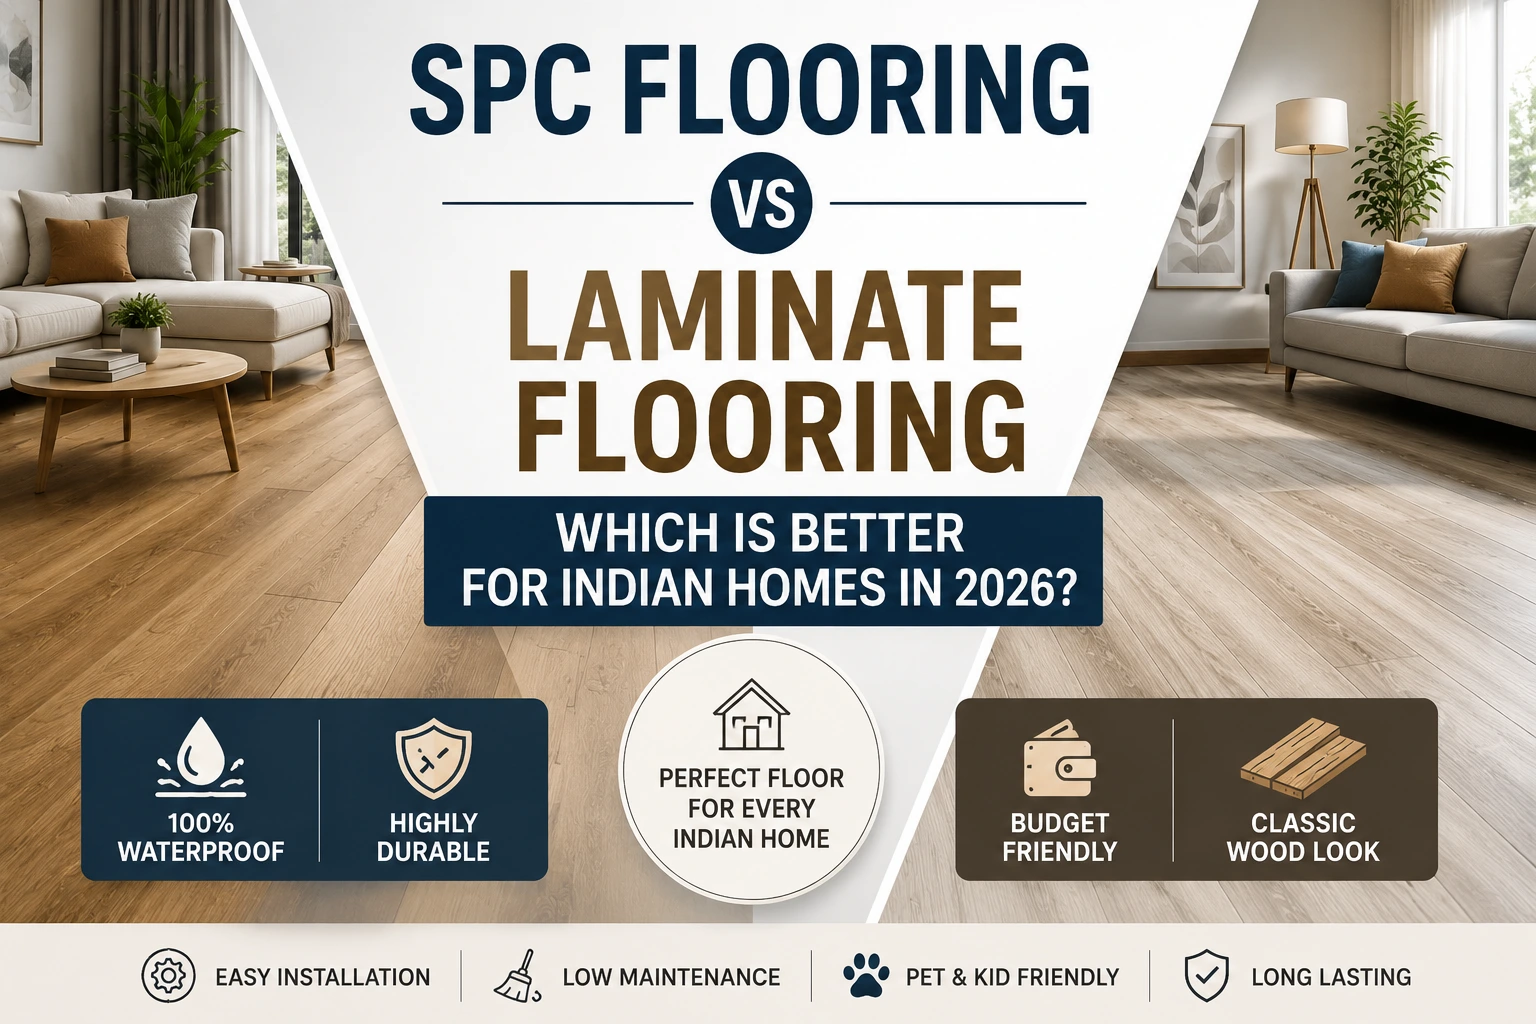
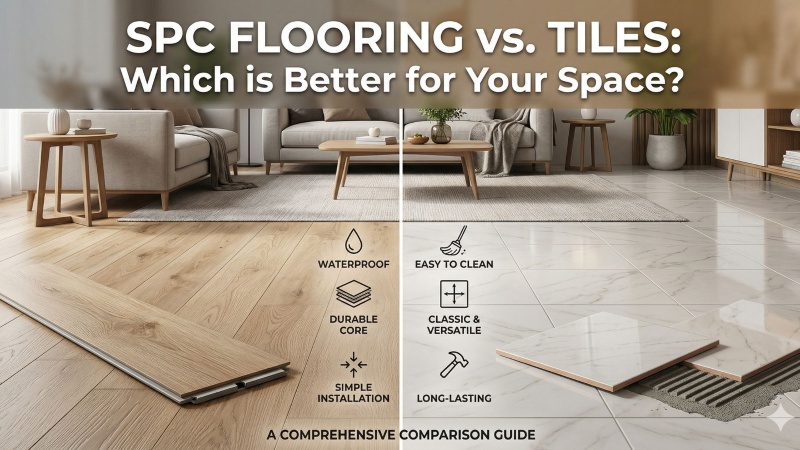
The finishes of SPC are also available in a broad range of finishes, wood grain, marble texture, and stone-like designs that enable homeowners and designers to get high-quality finishes at a low cost and without the high maintenance and cost of natural materials. Comparing SPC vs laminate flooring, SPC always triumphs in the areas of high moisture, high traffic, and the areas that need permanence.
Did You Know?
SPC flooring can last 10 to 25 years with proper installation and basic maintenance, making it one of the most cost-effective long-term flooring investments available in India today.
How Much Does SPC Flooring Installation Cost in India?
The first question that people ask is, "How much is this going to cost me?" The solution will be based on some important variables: the thickness and quality of the SPC product, the size of your room, the complexity of your subfloor, and whether it's professional or DIY.
Material Costs: SPC flooring in India costs between 70 and 250 per square foot. Premium choices – thicker wear layers, embossed textures, or imported designs may be as high as 400 a square foot. The ?100 to 180 per sq. ft. mid-range products are highly performing in most residential and commercial uses.
Installation Labour: Professional installation will range between 20 and 50 rupees per square foot depending on your city, the complexity of the layout, and the need to have subfloor levelling. In large cities such as Mumbai, Delhi, and Bengaluru, the rates tend to be on the higher side of this range.
At an estimated price of a 500 sq. ft room: At mid-range product prices (130/sq. ft.) and average installation costs (35/sq. ft.), a 500 sq. ft. room would cost about 82,500, which would be well within the budget of most renovation projects and much cheaper than hardwood or marble.
Here is a quick comparison to help you evaluate your options:
| Flooring Type | Material Cost (?/sq ft) | Installation (?/sq ft) | Durability |
| SPC Flooring | ?70 – ?250 | ?20 – ?50 | 10–25 Years |
| Laminate Flooring | ?50 – ?180 | ?20 – ?40 | 7–12 Years |
| Vinyl Flooring | ?45 – ?150 | ?15 – ?35 | 5–10 Years |
| Ceramic Tile | ?60 – ?300 | ?30 – ?80 | 15–20 Years |
Note: Prices vary by brand, region, and product specifications. Contact Antovia Surfaces for accurate pricing on your specific project.
Tools and Materials You Need Before Starting
Preparing the right toolkit before you begin will save you time, reduce errors, and help you achieve a professional-looking result. For a standard SPC flooring installation, you will need a tape measure, utility knife, rubber mallet, tapping block, pull bar, plastic spacers, a circular saw or jigsaw, safety glasses, and a carpenter's level.
On the materials side, you should always buy SPC planks that have an extra 10% above your estimated floor area to cover cutting wastage and repairs in the future. Unless your SPC product has pre-attached underlayment to SPC flooring, you will have to purchase a moisture-resistant foam or IXPE underlayment separately. A 6-mil poly-film moisture barrier is also suggested in the case of concrete subfloors.
One important tip: it is always better to buy all the SPC planks of the same production batch. Even slight manufacturing differences between batches will result in slight colour variations that will be noticeable after the floor is laid. This will save you the frustration in the future.
How to Prepare the Subfloor for SPC Flooring Installation
The most important step in the whole installation process is the subfloor preparation. Even the best SPC planks will not give you a good result when the subfloor is not even or dry. This is a step that cannot be shortcut or hurried.
Cleanliness: Begin by sweeping, vacuuming, and removing all debris from the subfloor surface. Any dust, grit, or old adhesive residue may cause unevenness under the planks.
Levelness: Use a long carpenter's level to check for dips and high spots. The accepted standard is no more than a 3/16-inch variation over a 10-foot span. Sandy spots need to be levelled with sand; low spots and cracks need to be filled with a levelling compound made of Portland cement and left to dry.
Moisture Testing: For concrete subfloors, moisture content must not exceed 2.5% (using the CM method). The moisture may be excessive, leading to the flooring lifting or moulding under the planks. It is highly recommended to have a 6-mil poly-film moisture barrier between the underlayment and the concrete.
Existing Flooring: SPC planks may be laid on top of existing ceramic tile, sheet vinyl, and marble as long as the surface is firm, flat, and dry. When laying over tile, fill grout joints more than 3 mm with an embossing leveller prior to installation.
Room temperature is equally important. The space should be maintained between 18°C and 22°C for at least 48 hours before installation. This is part of the SPC flooring acclimation process, allowing the planks to adjust to the room's ambient conditions before they are locked into place.
Pro Tip
Never install SPC flooring directly after painting or plastering. Wait until all wet work is fully dry and the room temperature has stabilised. Rushing this step is one of the most common reasons for early floor failure.
Step-by-Step SPC Flooring Installation Process

Once your subfloor is prepared and your tools are ready, you can begin the actual SPC flooring installation. Follow these steps carefully for a result that looks professional and lasts for decades.
Step 1: Acclimate the Flooring
Leave the SPC planks inside the room in their unopened boxes for at least 48 hours before installation. The room should be at a stable temperature between 18°C and 26°C. This prevents expansion or contraction of the planks after they are laid.
Step 2: Lay the Underlayment
Roll out the underlayment for SPC flooring across the entire subfloor. Ensure seams are butted tightly together, never overlapping, as overlapping creates ridges beneath the planks. Tape the seams to prevent movement. Trim any excess along the walls with a utility knife. If your SPC comes with pre-attached underlay, skip this step.
Step 3: Plan Your Layout
Before placing a single plank, plan your layout visually. As part of the floating floor installation method, start parallel to the longest wall in the room and lay planks in the direction of natural light for the most aesthetically pleasing result. Stagger end joints between rows by at least 30 cm to ensure structural stability and a natural, random pattern. Mix planks from two or three boxes throughout to avoid colour clustering.
Step 4: Install the First Row with Expansion Gaps
Place spacers along all walls before laying the first row. These create the expansion gap for flooring, typically 8 to 12 mm, which allows the floor to expand and contract with temperature and humidity changes without buckling. Never skip this gap, even for small rooms. Start from the left side of the room, working left to right.
Step 5: Click and Lock the Planks
Engage the click-lock system by angling the tongue of the new plank into the groove of the installed plank at roughly 20 to 30 degrees, then pressing down firmly until it clicks into place. Use a rubber mallet and tapping block to gently tap the seams tight without damaging the edges. For the short end joints, use the pull bar to draw planks together.
Step 6: Cut and Fit the Final Row
Measure the remaining space for the last row. Subtract the expansion gap measurement from the width and mark the planks accordingly. Cut along the line using a circular saw or utility knife. Use the pull bar to ease the final row into position without forcing it against the wall.
Step 7: Install Skirting, Trim, and Transition Strips
Once all planks are in place and spacers are removed, complete the SPC floor finishing and trim work. Attach baseboards, quarter-rounds, or skirting boards to the wall, never to the floor itself, so the floor can move freely beneath them. At doorways or transitions to other flooring types, install T-moulding transition strips for a clean, professional finish.
Installation Complete
Give the floor a final clean with a dry microfibre mop to remove installation dust. Wait at least 24 hours before moving heavy furniture back into the room.
What Is the Correct Way to Install SPC Flooring on a Concrete vs. Wooden Subfloor?
On concrete: Concrete must be fully cured for at least 60 days before SPC installation begins. The surface must be clean, flat, and have a moisture content below 2.5%. A 6-mil poly-film moisture barrier must be placed between the concrete and the underlayment. Any cracks or uneven areas must be repaired with a levelling compound before proceeding.
On wooden subfloor: A wooden subfloor must be at least 1 inch thick (double-layer) or constructed from APA-rated panels. Fix any squeaky or loose boards before installation begins. Sand down any joints that are raised and fill gaps wider than 1/8 inch. No moisture barrier is required for wooden subfloors in dry areas, but it is still recommended in high-humidity environments like kitchens.
7 Common SPC Flooring Installation Mistakes to Avoid
Even experienced DIYers make errors during flooring installation. Being aware of these pitfalls before you start can save you significant time, money, and frustration.
1. Skipping subfloor levelling. It is the costliest error to make. Any irregularity in the subfloor is transmitted through the SPC planks, resulting in creaking, flexing at the joints, or uneven wear over time. Level before you lay.
2. Not leaving an expansion gap. Skipping the expansion gap along walls, doorways, and fixed objects is a common error, especially in smaller rooms where it feels unnecessary. In the absence of this gap, the floor will have no place to stretch in response to changes in temperature and will bulge or rise at the joints.
3. Overlapping underlayment seams. The overlaying of the underlayment forms ridges under the planks. These ridges are palpable on the ground, and they might later lead to the separation of the click-lock joints. Always butt seams together without any overlap.
4. Not acclimating the planks. Placing SPC planks directly off the delivery truck, particularly when they have been kept in severe conditions, is a disaster in the making. s. It is always advisable to give 48 hours of acclimatisation within the room at constant temperatures prior to commencement.
5. Installing in extreme temperatures. The SPC flooring is not to be installed or used in a temperature range that is either below 15 C or above 38 C. It should not be installed in a place without heating or in direct sunlight without shading the windows because the material may expand to levels that are not within its designed tolerances.
6. Mixing planks from different production batches. Small colour and gloss variations exist between manufacturing runs. Always make sure that all your planks are of the same batch number and buy all the materials needed in the project in one order.
7. Attaching skirting boards to the floor. Fixing your skirting or baseboards to the SPC planks rather than the wall prevents the floor from moving naturally. This eventually makes the planks tug at the sides, tear the locking joints, and leave gaps that are visible.
Can you install SPC flooring yourself, or should you hire a professional?
The click-lock plank system used in most SPC flooring makes it one of the more DIY-friendly flooring options available today. If you have basic carpentry skills, the right tools, and the patience to prepare the subfloor correctly, a standard room installation is achievable over a weekend.
That said, there are situations where hiring a professional installer is the wiser choice: rooms over 50 square metres (which require additional expansion joints), spaces with radiant underfloor heating, subfloors that need significant levelling work, or commercial installations that demand warranty compliance. Professional installation in India typically costs ?20 to ?50 per square foot, and most reputable flooring brands, including Antovia Surfaces, can connect you with trained installers in your area.
How Long Does SPC Flooring Last After Installation?
When well maintained, SPC flooring will last between 10 and 25 years. The most important aspect that defines the longevity is the SPC flooring wear layer, the clear protective layer on the plank's surface. The wear layer of 0.3 mm is appropriate to be used in the normal residential setting, whereas 0.5 mm and more is advisable in high-foot-traffic areas, commercial areas, or pet-friendly homes.
Regular sweeping or dry mopping, occasional damp mopping with a pH-neutral cleaner, and the use of felt pads under furniture legs will significantly extend the life of your floor. Avoid dragging sharp or heavy objects across the surface, and never use abrasive chemical cleaners or steam mops, which can damage the wear layer and the locking joints over time.
Why Choose Antovia Surfaces for Your SPC Flooring Needs?
Surface excellence is not a promise at Antovia Surfaces, but it is a promise that we have incorporated in all our products that we develop. Our products are high-quality SPC flooring solutions that would suit the various conditions of India: the humidity of the coastal cities, the heat of the inner regions, and the strictness of the commercial interiors.
Our SPC flooring collection consists of wood grain finishes, stone-like textures, marble appearances, and modern neutral colours that provide architects, interior designers, and homeowners with the opportunity to make their spaces as beautiful as they are strong. All products are of international quality and are designed to withstand the stability, waterproofing, and wear resistance that the modern construction requires.
Whether you are outfitting a single room or a large-scale commercial project, Antovia Surfaces offers consistent quality, design expertise, and reliable after-sales support. Explore our SPC flooring collection at antoviasurfaces.com and find the right surface solution for your next project.
Final Thoughts
Getting your SPC flooring installation right from the start pays dividends for years. Prepare your subfloor properly, follow the step-by-step process, maintain the right expansion gaps, and avoid the common mistakes that catch most DIYers off guard. The result will be a floor that looks great, performs flawlessly, and stands up to real-life use for a decade or more.
SPC's combination of rigidity, moisture resistance, and design versatility makes it one of the smartest flooring investments available in India's current market. Whether you are renovating a home kitchen, a hotel lobby, or a retail floor, the process is the same: do the prep work, use the right tools, and take your time.
Ready to transform your space? Antovia Surfaces is here to help you choose the right SPC product and connect you with the expertise to install it correctly. Visit antoviasurfaces.com to explore our full range of premium surface solutions.
Frequently Asked Questions (FAQs)
What is the best way to install SPC flooring?
The best approach is to follow a step-by-step SPC flooring installation guide with proper subfloor preparation and layout planning.
Can SPC flooring be installed without glue?
Yes, thanks to the click-lock flooring system, SPC flooring does not require adhesive.
How much does SPC flooring installation cost in India?
The SPC flooring installation cost in India typically ranges between ?20–?60 per sq ft.
What are common SPC flooring installation mistakes?
The most common SPC flooring installation mistakes include skipping levelling and not leaving expansion gaps.
Do you need underlayment for SPC flooring?
It depends on SPC flooring underlayment requirements, but many SPC floors have built-in layers.